GamePi20 RetroPie portable console
I didn’t completed the Devember challenge of the last year. I’m sorry.
I have tried to make Android a viable development platform, as in, you being able to compile and run code directly on the Android device. Unfortunately, all solutions end up wearing too much the internal NAND memory of the device, the only place where you can change permissions of files or run them. Even if you have a large SD card configured as adoptable storage, you can’t run executable files from there. Modern phones are harder to root, also.
Android ends up being an operating system for people who likes to be spoon-fed social data from big tech. It was never thought to empower the user, and modern users are frail and don’t want to be empowered either.
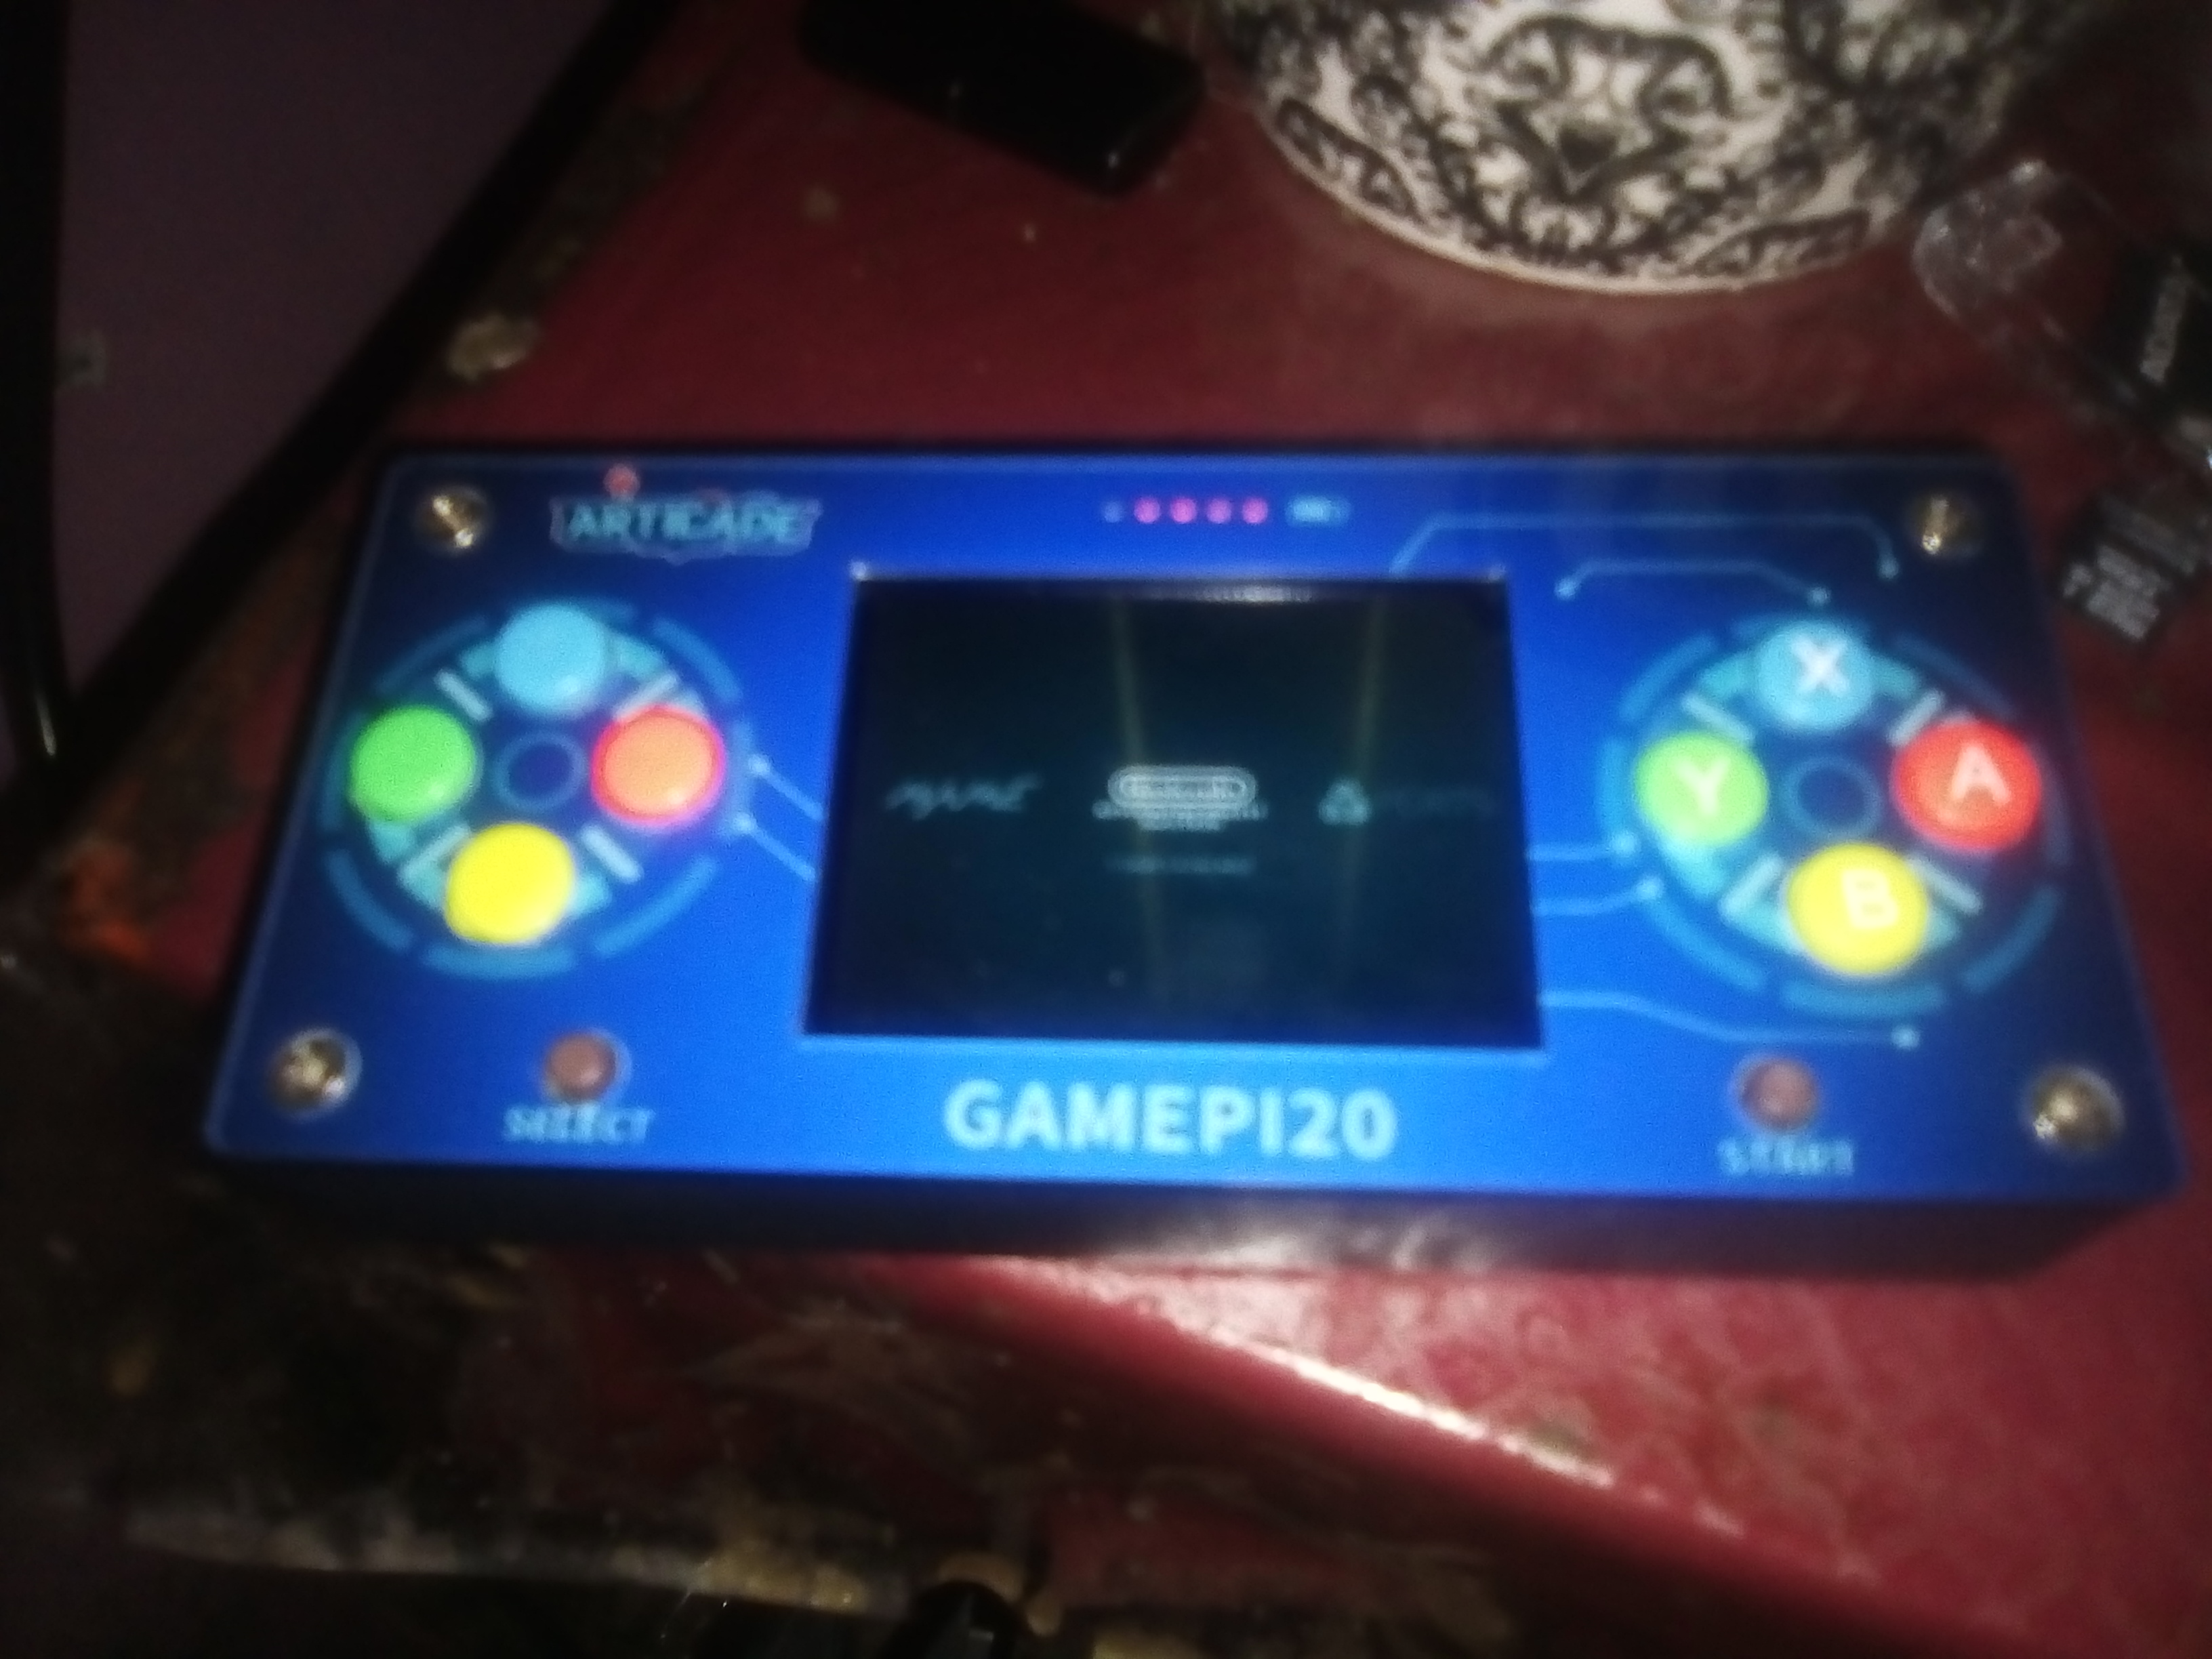
So I tried to find a better alternative, and I found the GamePi20, from Waveshare. It’s a kit that you assemble by yourself using a Raspberry Pi Zero / Zero W / Zero WH as CPU (not included). It has everything you need to make your own portable videogame console.
I ordered one from AliExpress and it was extremely cheap. The cost of both the Pi Zero W and the GamePi20 kit together was similar the cost of a medium-low end mobile phone.
At first I tried to build my own system using latest Raspbian Lite and latest RetroPie distribution.
But I smashed myself against the fact that the joystick driver won’t compile in the newer kernel due to changes in the definition of a function named setup_timer.
I didn’t had the patience to port it to the newer kernel.
Also, I discovered that without enabling SPI on boot, the TFT display driver won’t start.
So I then downloaded the official RetroPie image from the Waveshare wiki. I tried some NES games, however the button mapping was strange. Also, perusing the RetroPie wiki, I realized the button placement shown in official Waveshare media wasn’t the one encouraged by the RetroPie documentation.
After toying around with configuration files, I found settings that were mostly right both for EmulationStation and most of its emulators and games.
I’ll share it here.
/etc/modprobe.d/joystick.conf
options mk_arcade_joystick_rpi map=5 gpio=12,20,21,13,26,16,4,23,6,22,17,5
/home/pi/.emulationstation/es_input.cfg
<?xml version="1.0"?>
<inputList>
  <inputAction type="onfinish">
    <command>/opt/retropie/supplementary/emulationstation/scripts/inputconfiguration.sh</command>
  </inputAction>
  <inputConfig type="joystick" deviceName="GPIO Controller 1" deviceGUID="15000000010000000500000000010000">
    <input name="pageup" type="button" id="6" value="1"/>
    <input name="start" type="button" id="11" value="1"/>
    <input name="down" type="axis" id="1" value="1"/>
    <input name="pagedown" type="button" id="7" value="1"/>
    <input name="right" type="axis" id="0" value="1"/>
    <input name="select" type="button" id="10" value="1"/>
    <input name="left" type="axis" id="0" value="-1"/>
    <input name="up" type="axis" id="1" value="-1"/>
    <input name="a" type="button" id="0" value="1"/>
    <input name="b" type="button" id="1" value="1"/>
    <input name="x" type="button" id="6" value="1"/>
    <input name="y" type="button" id="7" value="1"/>
  </inputConfig>
</inputList>
/opt/retropie/configs/all/retroarch-joypads/GPIO Controller 1.cfg
input_device = "GPIO Controller 1"
input_driver = "udev"
input_l_btn = "6"
input_load_state_btn = "6"
input_start_btn = "11"
input_exit_emulator_btn = "11"
input_down_axis = "+1"
input_r_btn = "7"
input_save_state_btn = "7"
input_right_axis = "+0"
input_state_slot_increase_axis = "+0"
input_select_btn = "10"
input_left_axis = "-0"
input_state_slot_decrease_axis = "-0"
input_up_axis = "-1"
input_a_btn = "0"
input_b_btn = "1"
input_reset_btn = "3"
input_enable_hotkey_btn = "10"
input_x_btn = "3"
input_menu_toggle_btn = "0"
input_y_btn = "4"